
Star Wars Outlaws Guide: The Truth Quest Walkthrough
2024-09-09 17:03:17Source:JuxiaAuthor:Juxia
The final mission in Star Wars Outlaws is a thrilling sequence of heists, beginning with "The Truth." As soon as Kay's team is assembled, you can dive into the endgame, but it's wise to prepare thoroughly before starting, as there’s no turning back.
In "The Truth," Kay and Riko must infiltrate an Imperial space station to intercept Sliro and steal his security codes, allowing them to access the mansion on Canto. Stealth is crucial—setting off an alarm will result in immediate failure. Follow this detailed guide to successfully navigate the mission and emerge unscathed.
Infiltrating the Space Station

Once Riko joins your crew, initiate the final mission by speaking with her at the lakeshore in western Akiva. Be aware that once you begin, open-world gameplay will be disabled until the mission ends, so ensure you’ve unlocked necessary abilities and completed any rewarding quests before starting.
Upon exiting the Lambda shuttle, head forward and to the right. Use the button on the cargo sled to move it forward, staying on the right side to avoid being seen. When the sled stops, follow Riko down the hallway to the right.
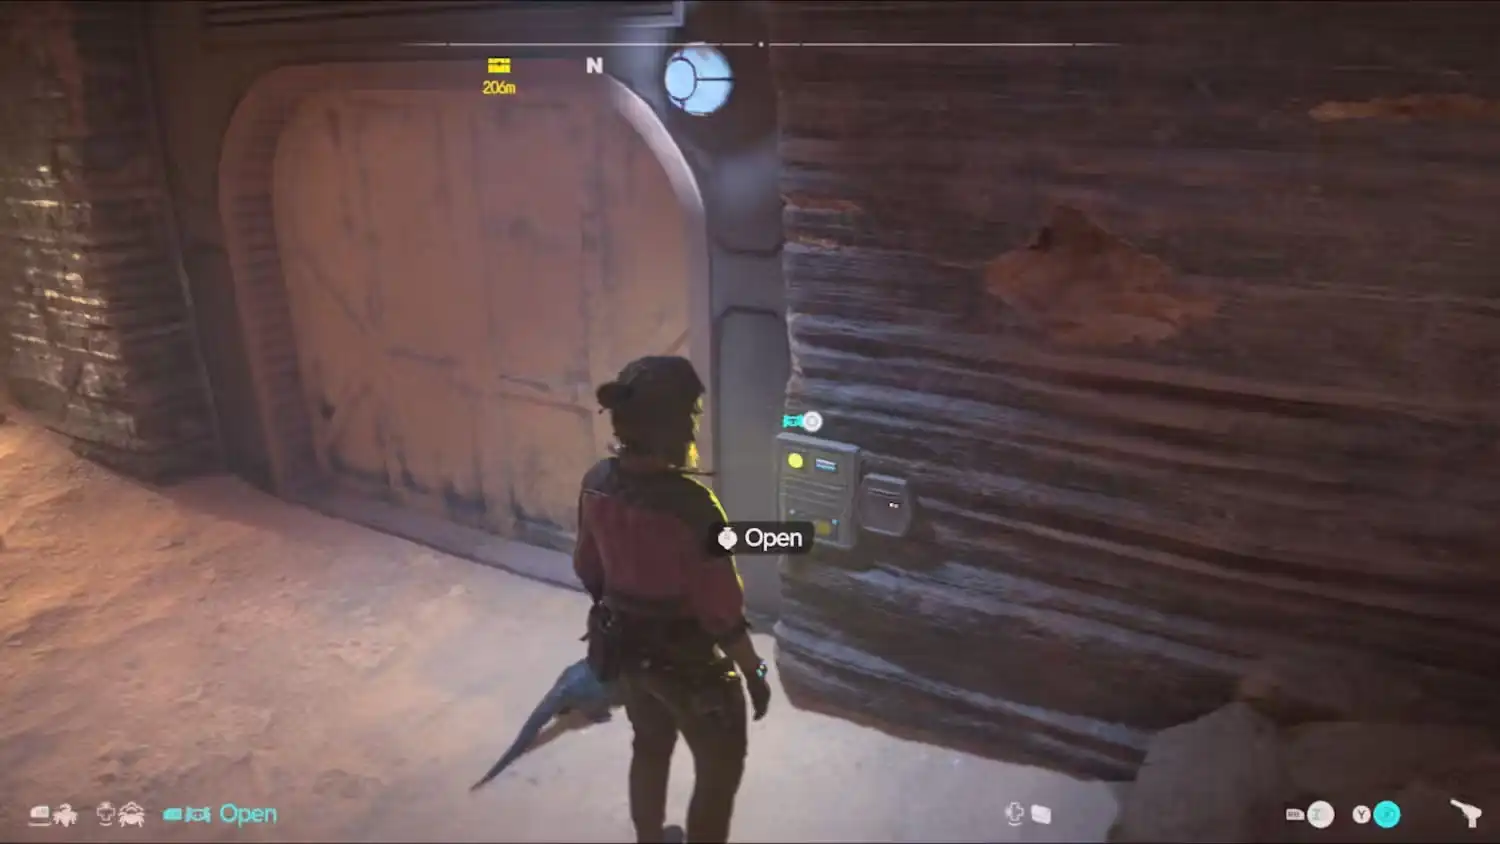
In the hallway, be cautious of the security camera. Position yourself behind Riko and peer through the window to the right. Locate the power switch for the camera near the door back to the docking bay in the adjacent room. Send Nix to disable it before attempting to override the security door panel.
Nix can also pilfer a Personal Commlink from the officer in the room and collect some Transparisteel from the desk nearby.
In the next room, quietly neutralize the guard to the right and slice the terminal she was working on. Open the security door and maneuver the cargo sled in the following room to avoid detection by the Storm Troopers. Once Kay and Riko finish their conversation, proceed.
#### Navigating the Conveyor Belt
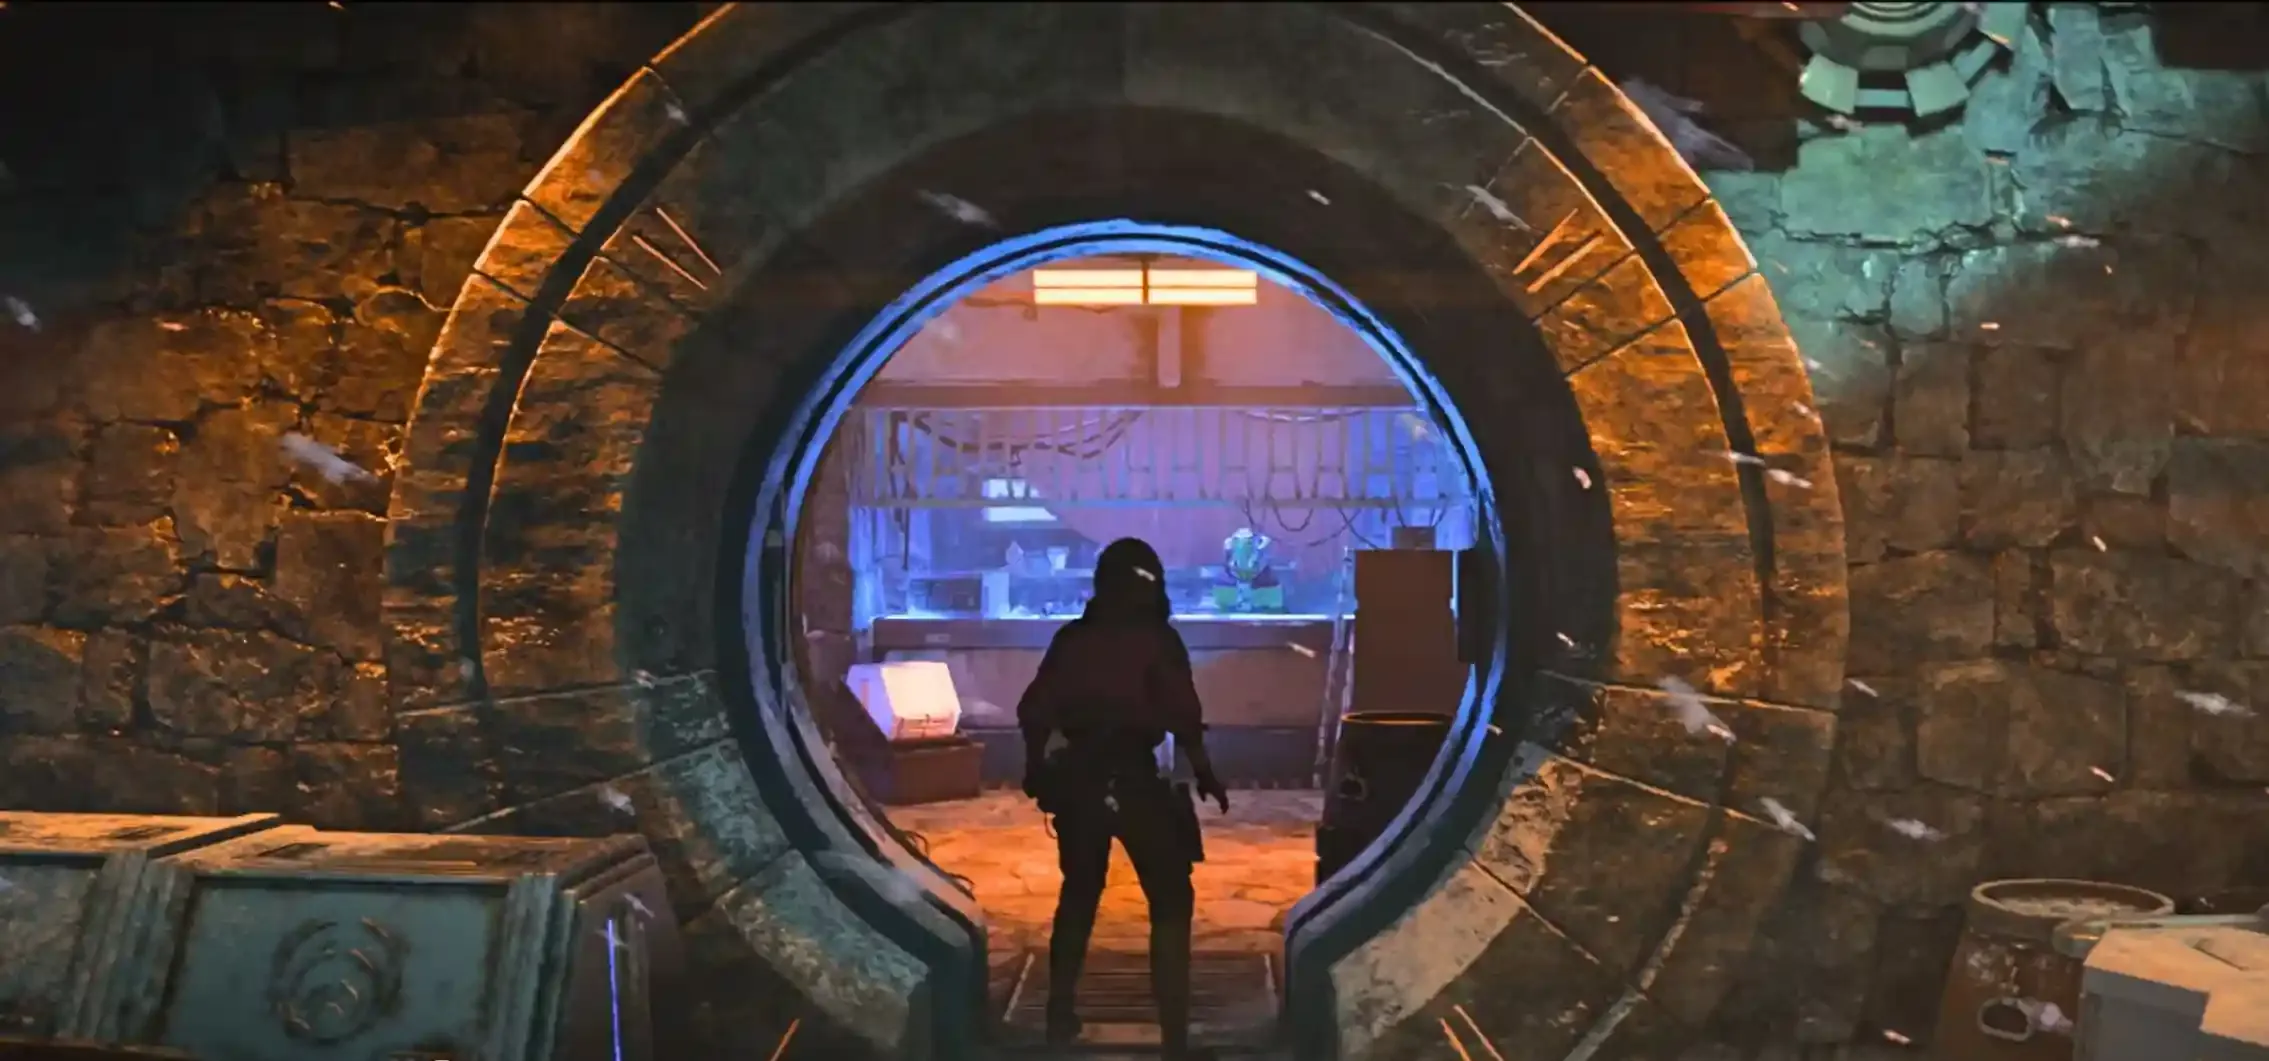
The cargo hall is monitored by an oscillating camera. Move carefully towards the power button, which is down the hall and to the left. Send Nix to disable the camera to pass through unseen. Explore the next room for a treasure chest containing Crystalline Earrings, then return to the cargo hall.
Proceed to the other end of the hall, past where Riko is monitoring your progress, and enter the door on the right. Eliminate the officer inside and use the wall panel to cut the power. Optionally, read the datapad by the window.
The door opposite Riko’s monitoring room should now be accessible. Enter and stay low to avoid being spotted by Imperials. Climb onto the conveyor belt and cross to the other end, then ascend the platform on the right. Avoid the group of Imperials in the next area by taking down the nearest enemy quietly. Have Nix detonate the gas canisters on the left for cover, allowing you to stealthily take down the other enemies.
Reaching the Data Extraction Hub

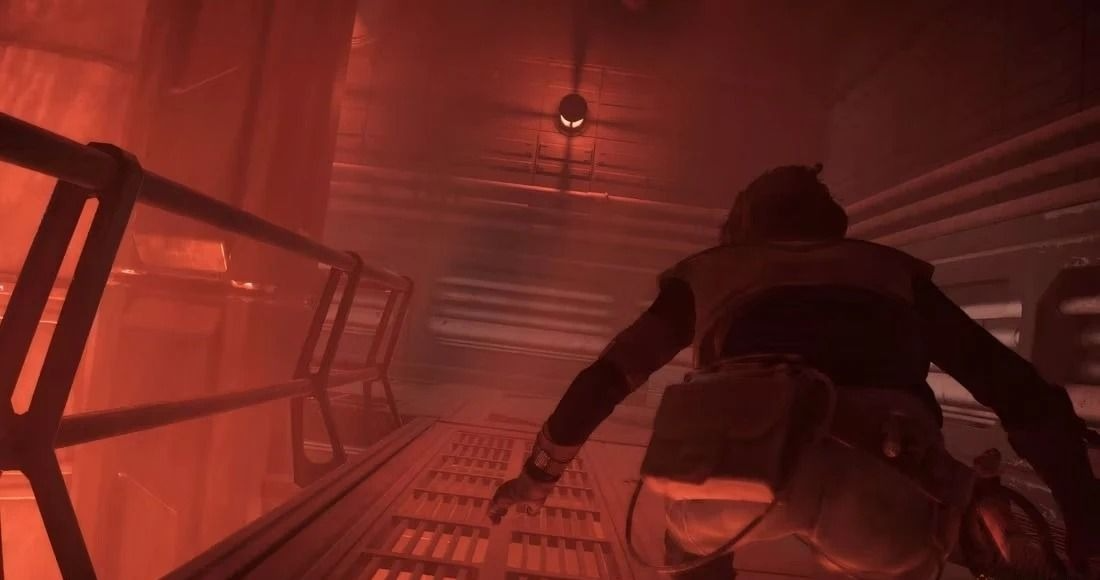
Drop onto the conveyor belt and enter the maintenance hatch in the floor. At the end of the tunnel, swing across the chasm and climb up the wall to the left. On the platform above, collect the Durasteel next to the terminal, then stand on the gantry overlooking the chasm.
Send Nix to open the shutter on the left and use your Ion Blaster to charge the capacitor inside; this will activate another shutter to the right. Charge it as well to extend a platform, allowing access to a ladder. At the top, turn right to find another ladder leading to a chest with additional valuables.
Directly ahead from the first ladder, steal the Durasteel against the wall and enter the vent to the left. Follow the dark tunnel to find a chest containing a Direct Energy Circuit, then make your way back counter-clockwise and exit the vents into the Data Extraction Hub.
Wiping the Viper Droids' Security Data

The first room is safe, but the second is swarming with Imperials and Viper droids. Hide behind crates on the left side when you enter, as most enemies are on the right. Beware of gaps between crates where Storm Troopers might spot you.
Have Nix trap any visible alarm panels to buy yourself more time if detected.
Navigate clockwise around the room, avoiding or neutralizing the officer at the right-hand terminal. Find the terminal against the far left wall to deactivate a nearby Viper. Use the smoke from the vents as cover to move forward.
Take down or evade the Storm Trooper in the hall, then proceed down the corridor to the room with the terminal you need. Sneak up on the two officers and deactivate the remaining Vipers to erase their data. Enter the hall on the left, take the turbolift to the next section, and avoid additional patrols.
At the turbolift’s base, Riko will open the door on the left. Use the crates in the hallway to avoid detection by the Storm Troopers. Once they clear out, stay low and enter the door on the right. Move slowly and crouch to avoid being seen; use Nix for distractions if necessary.
Sneak past the officer at the terminal and enter the vent to the right. Avoid engaging if possible, as a periodic Storm Trooper check could trigger an alarm.
Continue through the vent. You’ll encounter a cutscene, but otherwise, the path is straightforward. At the end, override a lock to emerge into a new corridor.
Obtaining Sliro's Security Code
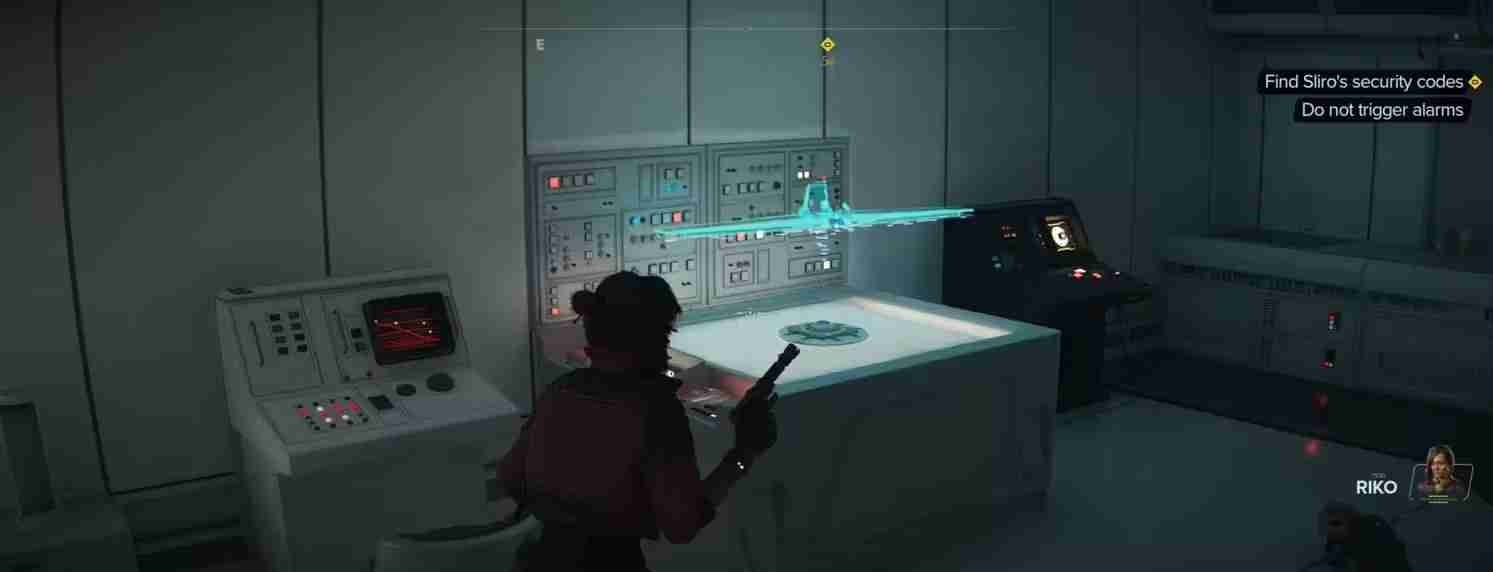
Peep through the window on the left and send Nix to press the button that opens the door. Once inside, have Nix and Kay simultaneously hold down the levers on the left. With the energy barrier down, shoot the power core with a standard blaster shot to open Sliro’s private chamber.
Hack the terminal on the left side of Sliro’s room to open the large door in the hallway, leading to the bridge. For the safest descent, use the vent on the left and navigate to the front of the bridge. The terminal you need is at the very front.
Reaching the terminal without being detected is challenging. If a fight ensues, prioritize taking down enemies targeting the alarm panel. Disable the panel as soon as possible, either manually or with Nix, and be cautious of the Death Troopers on the bridge. Winning the fight without triggering the alarm is possible, especially with strategic use of Adrenaline Rush.
Slice the terminal, grant Riko access, and open the ventilation shaft. A panel in front of you will open for escape. At the end of the shaft, turn right and enter another vent. Continue through the room, taking down the officer by the door, and ascend the stairs. Enter the large door at the top and open the panel on the floor at the far side of the holotable. Turn left at the end of the shaft, pass through the doors, and you’ll find yourself back at the docking bay, in the gantries above.
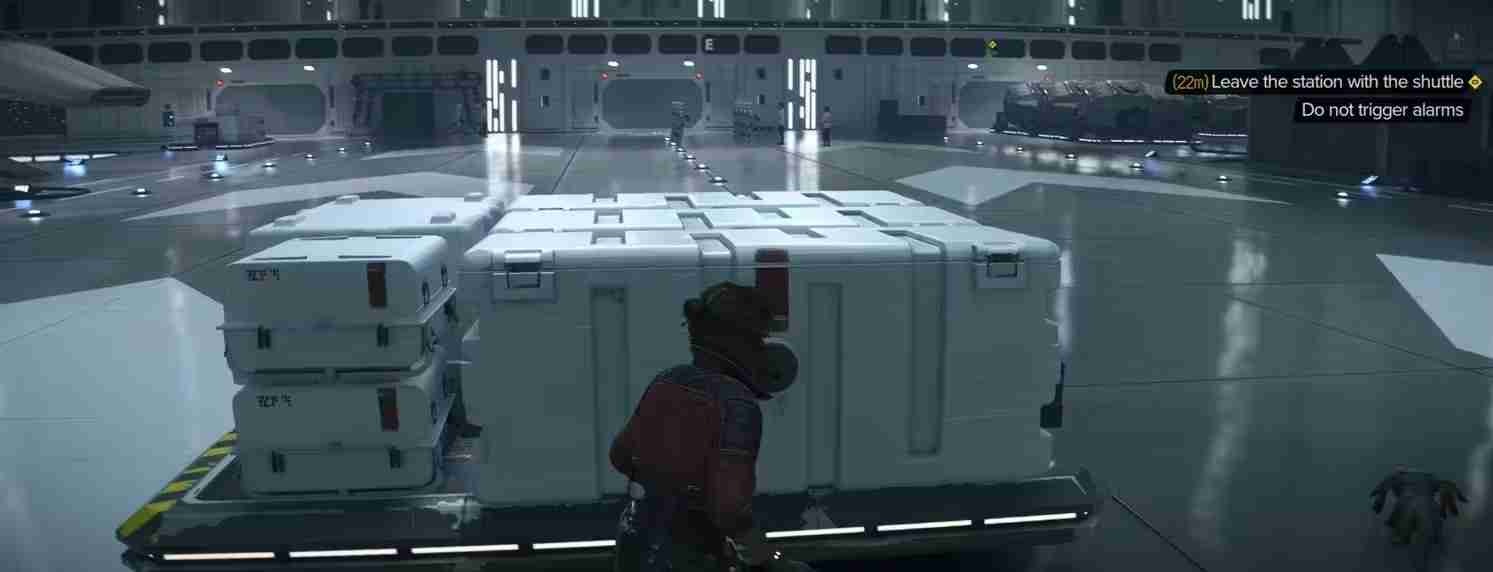
Escaping the Docking Bay
Swing across to the opposite platform and climb along the wall to the right, reaching the support structure above. Walk along it, then rappel down the opposite side.
Once on the floor, enter the vents, continue along the path, up the ladder, and down another rappelling wall. Climb along the underside of the cargo lifts.
On reaching the other side, loot the chest against the wall and rappel down to meet Riko. Proceed through the final doors and across the docking bay floor. As long as you avoid firing your blaster or running into a group of Storm Troopers, the Lambda shuttle awaits for a smooth escape.
Related Articles
-

Star Wars Outlaws' Latest Patch Addresses Stealth Issues
2024-10-04
-
Star Wars Outlaws: How to Obtain the Gas Acceleration Converter
2024-09-27
-
Star Wars Outlaws: Complete Guide to Mos Algo Treasure Locations
2024-09-27
-

Star Wars Outlaws: Release Date Confirmed for Wild Card Expansion and Free DLC
2024-09-27
-

Star Wars Outlaws: Story and Reputation System Are Overly Disconnected
2024-09-26
-

Star Wars Outlaws: Discovering All Pyke Syndicate Vault Keycard Locations
2024-09-24
-

Star Wars Outlaws: A Complete Guide to Charms
2024-09-11
-

Star Wars Outlaws: Addressing Controversial Gameplay Mechanics
2024-09-11
-
Star Wars Outlaws' 'Unfair' Insta-Fail Stealth Sections Set for a Patch
2024-09-09
-
Star Wars Outlaws Guide: How to Win at Fixed Faltheir Races for Maximum Credits
2024-09-02
